
Photography Lighting 101: Light Patterns (2026 Update)
If you want to create consistent, professional portraits, whether in a studio or a client’s home, you must understand lighting patterns.
Lighting patterns are the foundation of portrait photography. They shape the face, create dimension, flatter your subject, and communicate mood.
And the best part? Once you learn them, they are easy to recreate.
In this guide, I’ll walk you through:
What lighting patterns are
The five classic portrait lighting patterns
When to use each one
How to create them using strobes or flash
How to stay in control (instead of guessing)
Let’s start with the basics.
What Is a Lighting Pattern in Portrait Photography?
A lighting pattern describes how light and shadow fall across a subject’s face.
It is determined by:
The angle of your light
The position of your subject
The direction of catchlights and shadows on the face
When you understand lighting patterns, you can:
Create dimension in your portraits
Highlight (or hide) facial features
Emphasize emotion
Add drama or softness intentionally
Create consistency in your portfolio in any environment
So learning to see, create and name lighting patterns is an incredibly useful skill to have as a portrait photographer.
Here are some of the most common patterns that every portrait photograph should know!
The 5 Essential Portrait Lighting Patterns

Ghoul Light
Ghoul Light
Ghoul Light is a lighting pattern that produces shadows that fall up the face at the chin, nose, and cheeks and catchlight in the bottom half of the eyes.
Because of its unsettling effect, this kind of light is commonly used in horror movies or while sitting around the campfire telling scary stories (think flashlight under the chin kind of light). Because of this “campfire” effect, Ghoul Lighting is not recommended for portrait work.

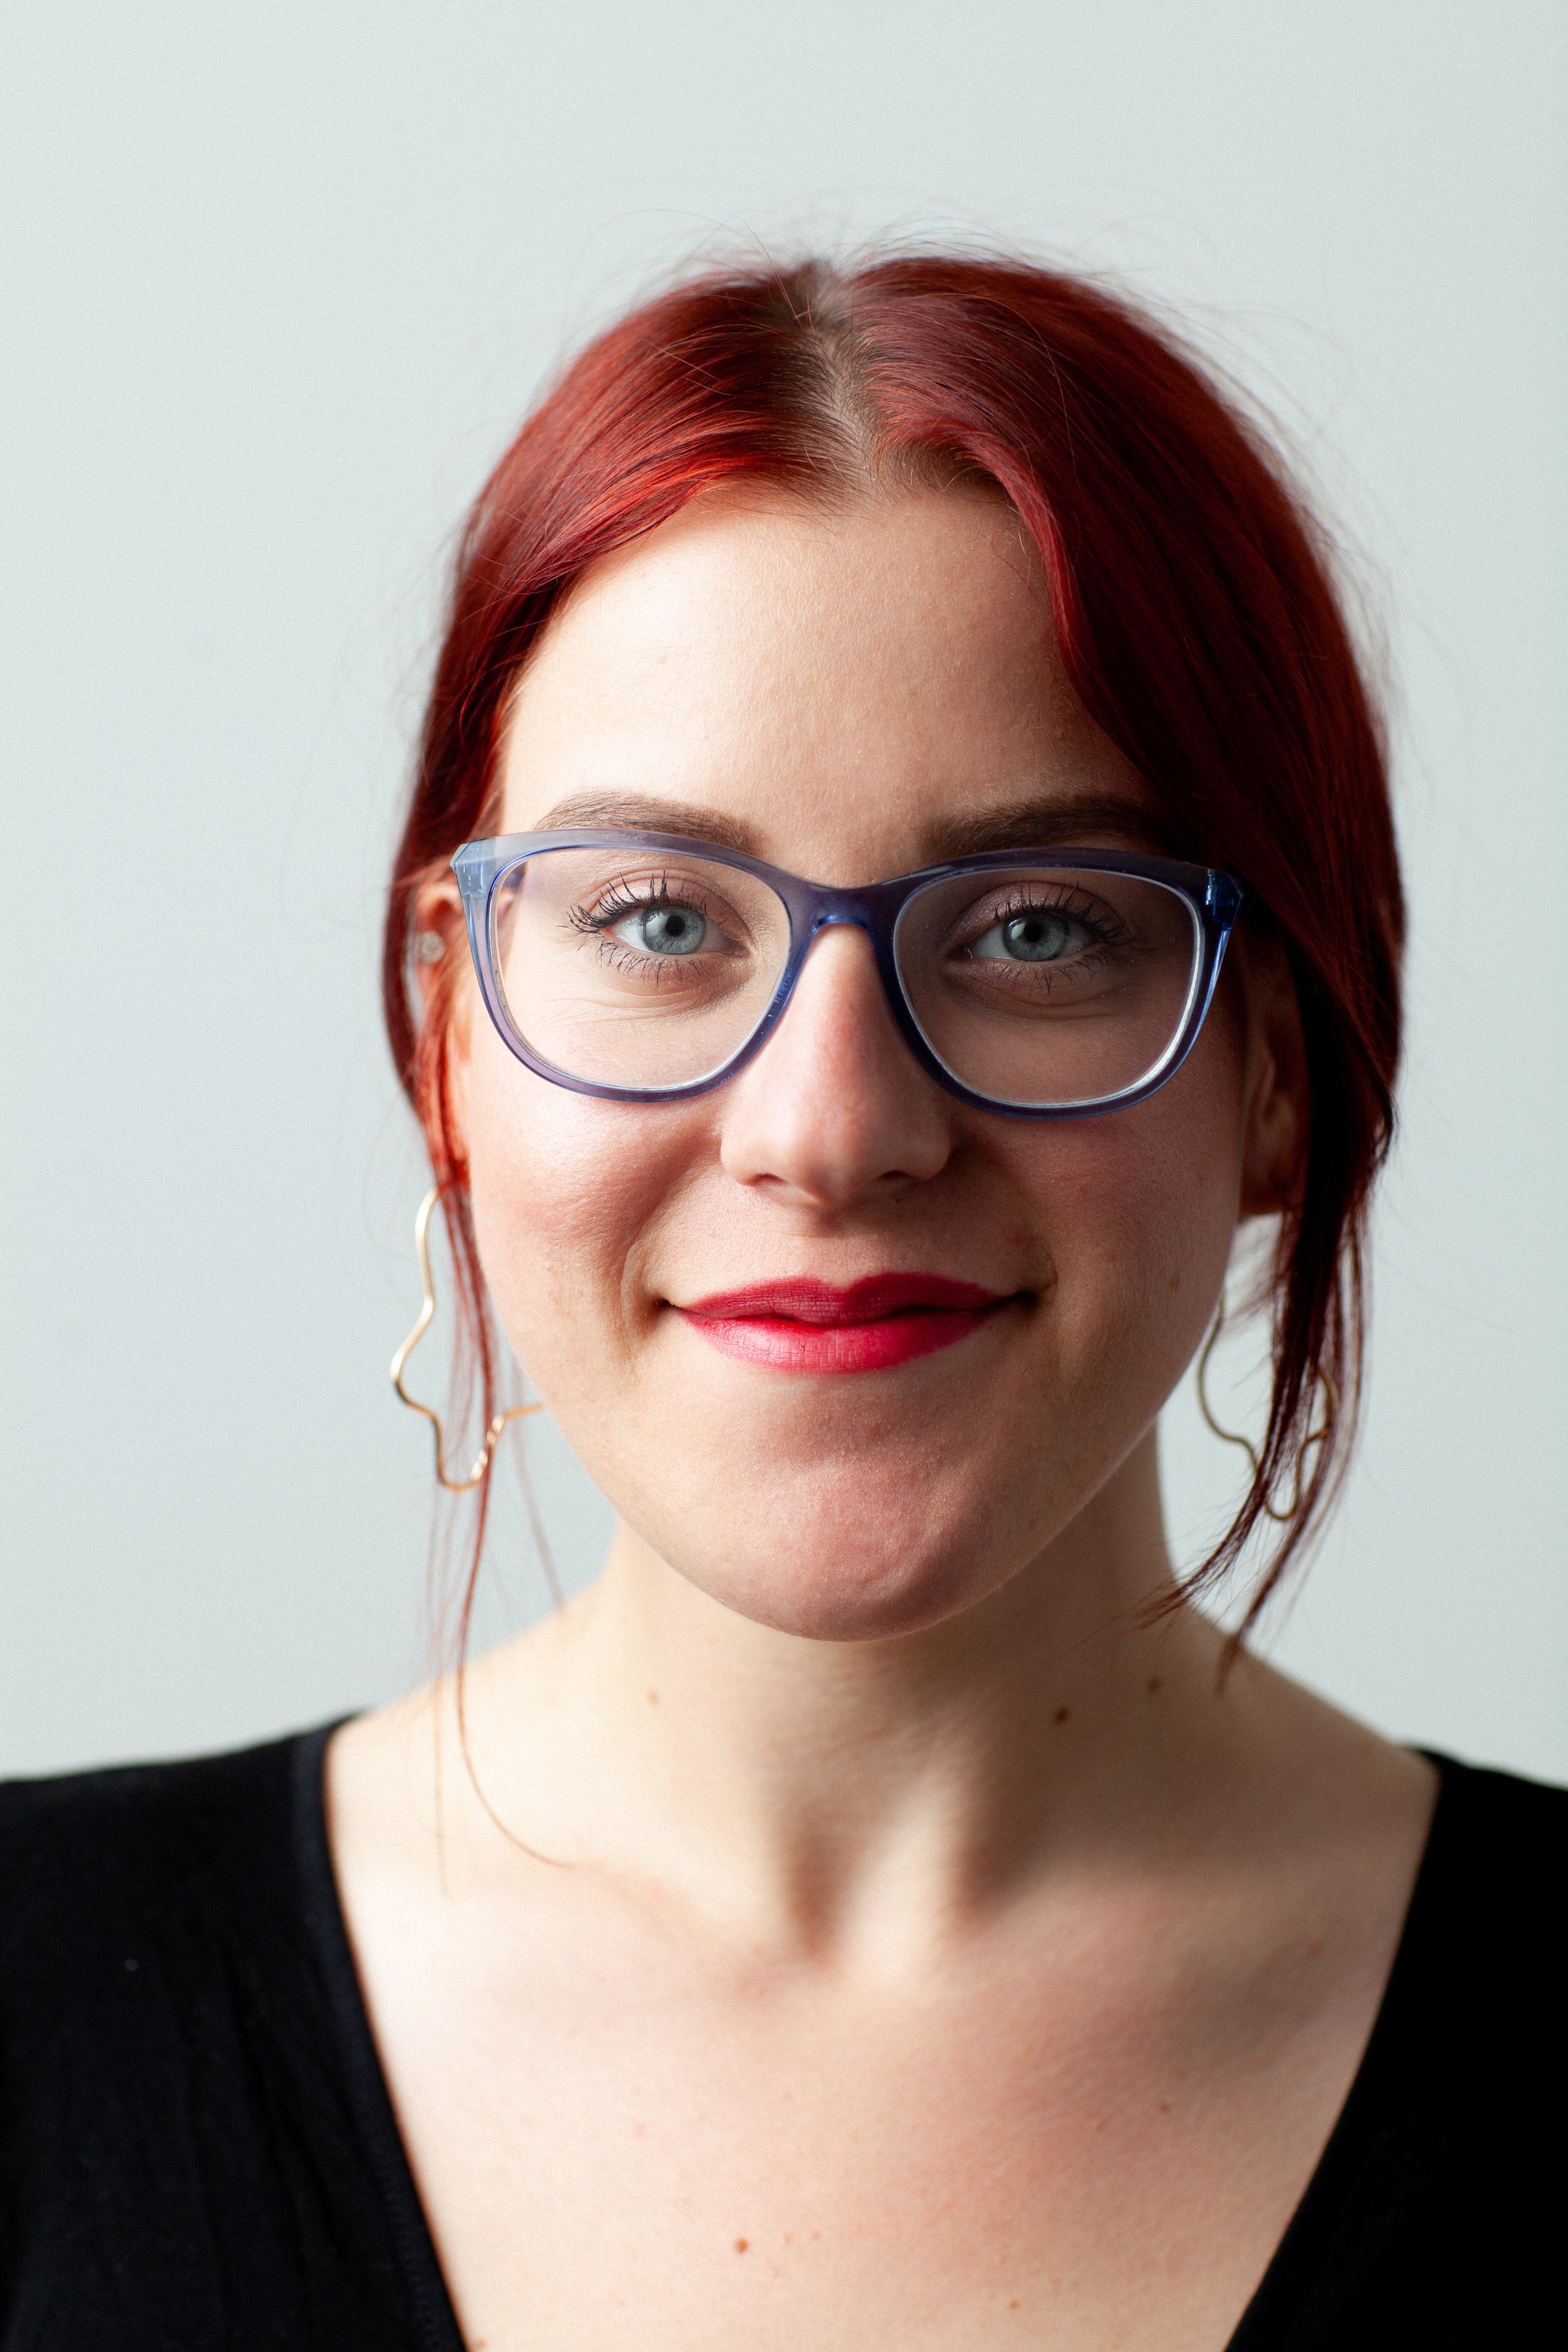
Butterfly Light/ Paramount Light
Butterfly Light
The opposite of Ghoul Light is Butterfly Light, or what is sometimes known as Paramount Light . This kind of light comes from in front of and above, producing shadows that fall down the face. It is called Butterfly Light for the small butterfly-shaped shadow it produces under the nose, but it will also produce a shadow under the chin and catchlights in the upper, middle part of the eye.
This pattern can be dramatic or subtle, depending on the quality of light you are working with, but it is always flattering. It looks good on everyone, which is why it’s so often used in portrait photography.

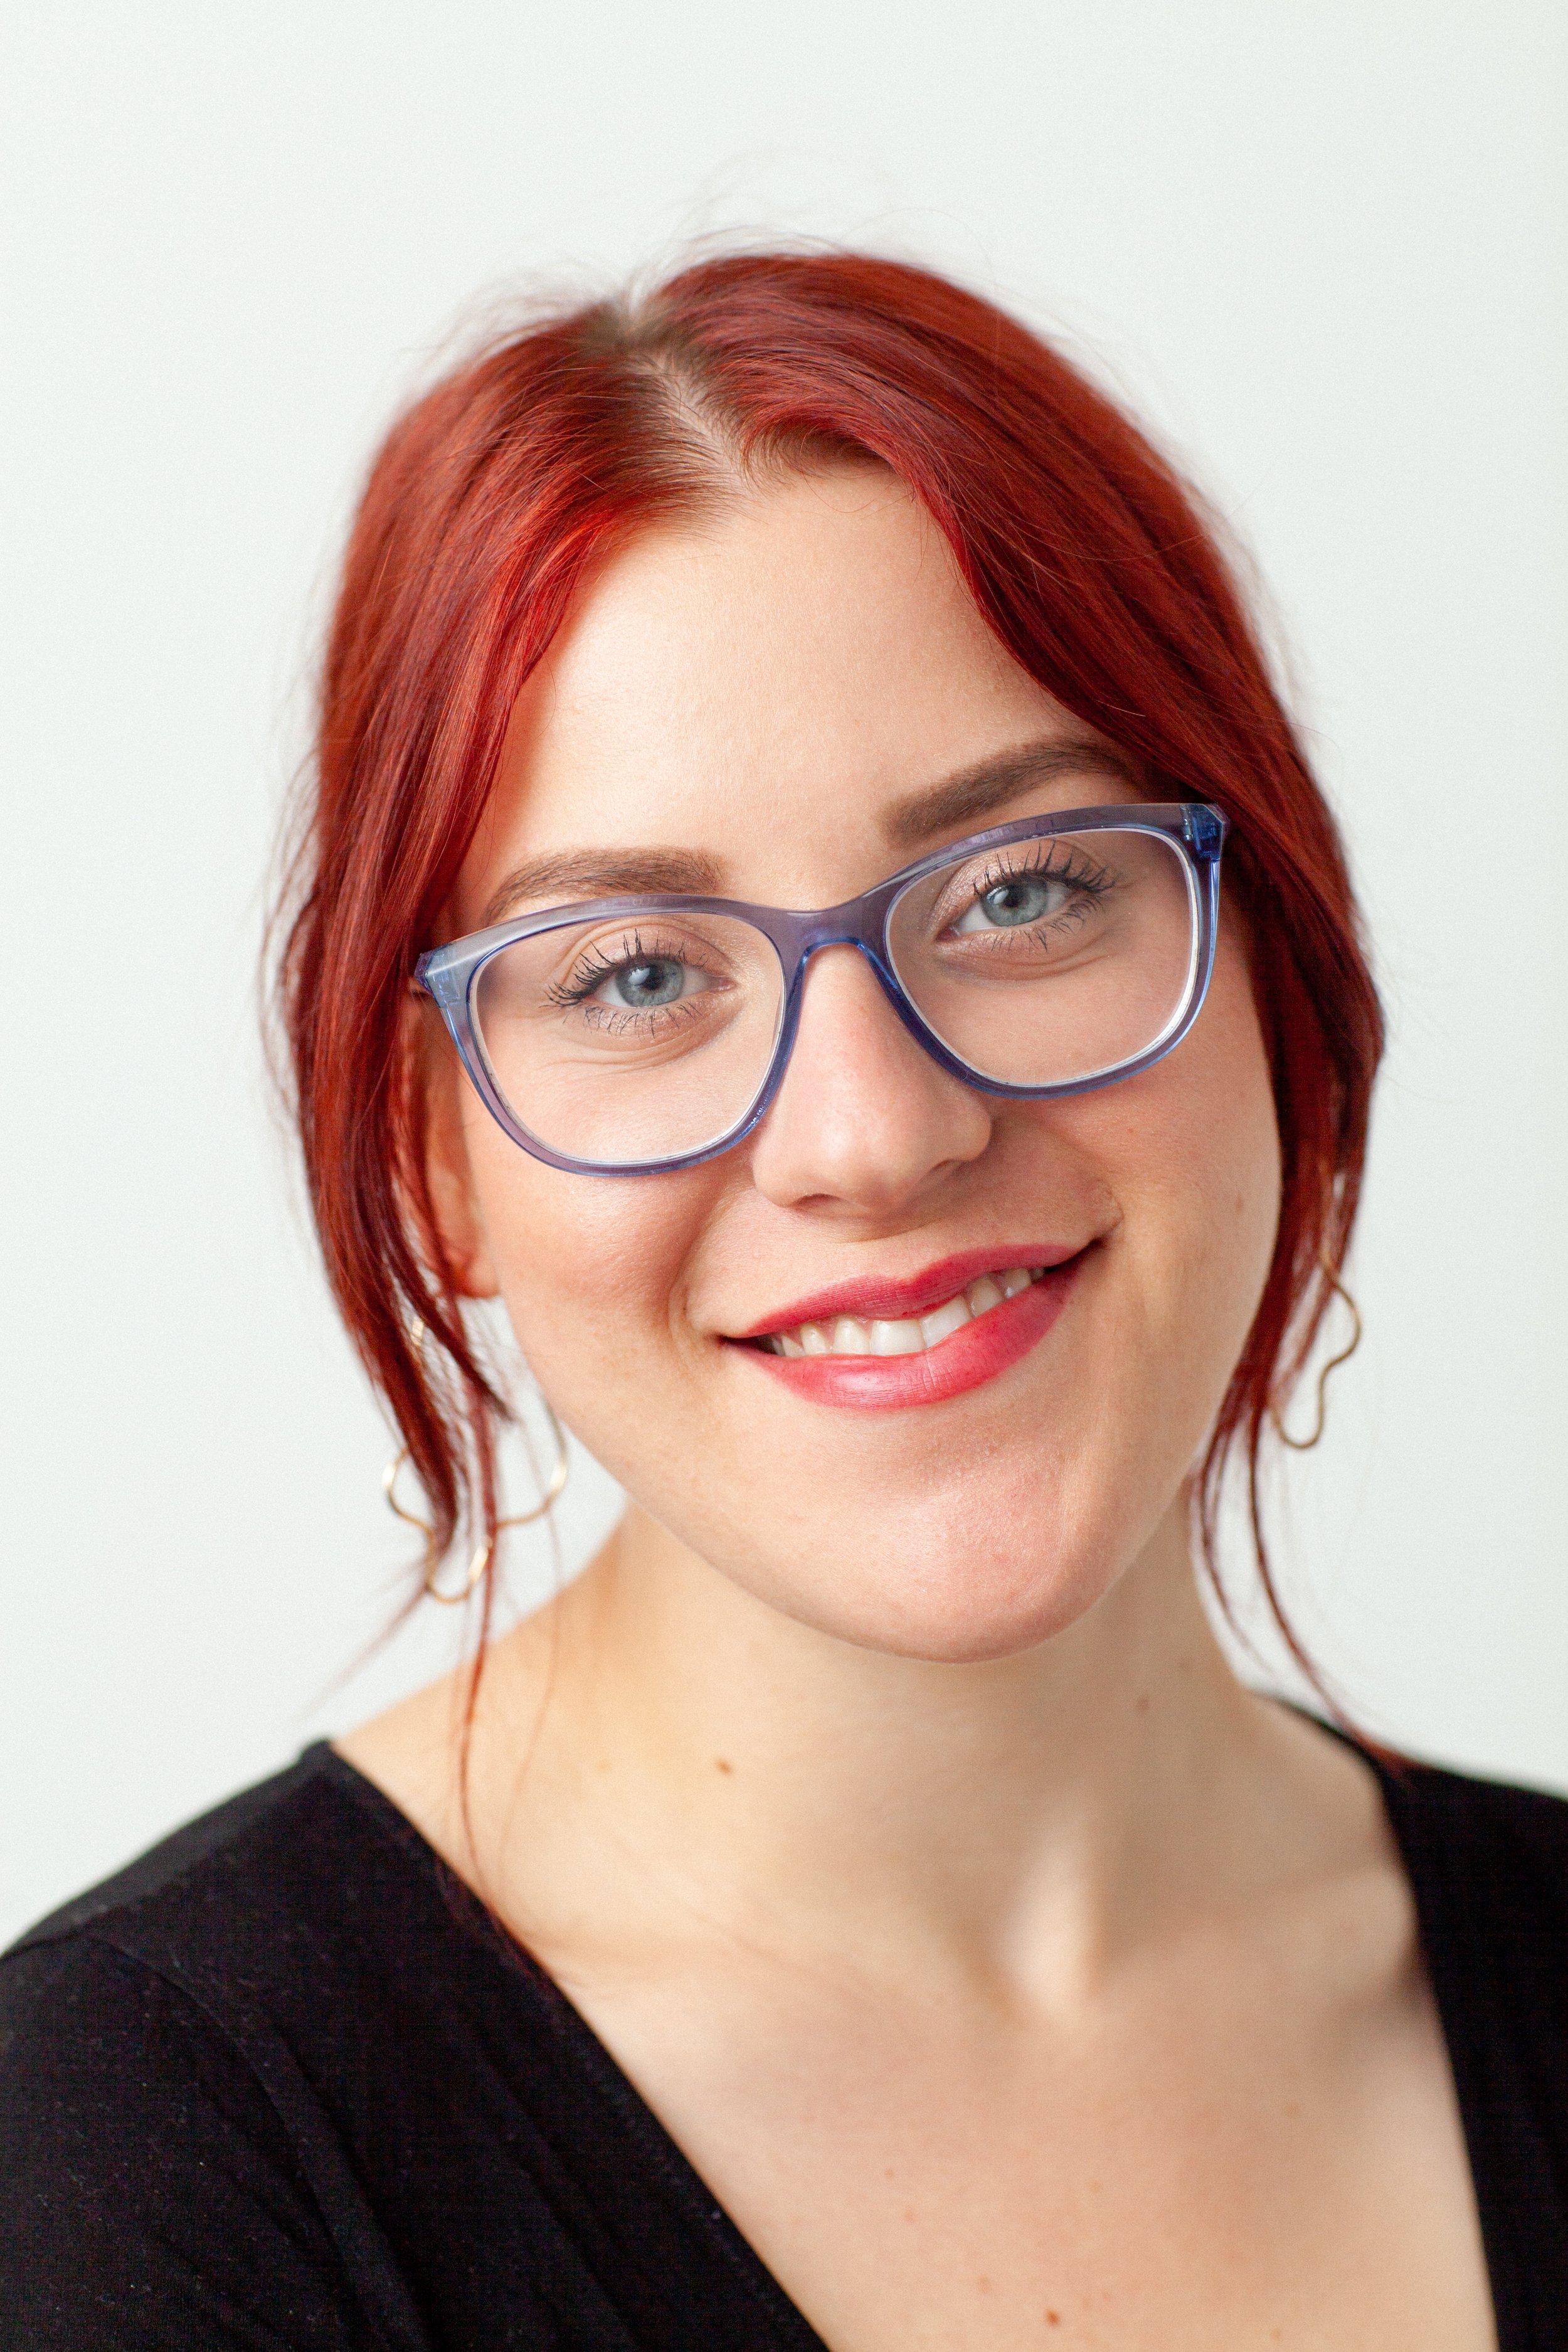
45 Degree Light/ Loop Light
45 Degree Light (or Loop Light)
45 degree light, sometimes called Loop Light, is created by placing your light at a 45 degree angle to your subject. This produces catchlights in both eyes at the two o’clock or ten o’clock position in the eye, depending on which direction your light is coming from. It also results in a shadow pattern that “loops” slightly around the face, creating dimension.
Like flat light, this kind of light is extremely flattering for portraits. It looks good on just about everyone, which is why I use it at every session I have.
It’s simple and beautiful, two of my favorite things.

90 Degree Light/ Split Light
90 Degree Light (or Split Light)
90 degree light, or Split Light, is achieved when the light source is at 90 degrees to the subject. This creates a shadow pattern that splits the face into two halves, one in highlight and one in shadow, and results in a catchlight that is larger on the highlight side of the face.
Split light can be very dramatic and beautiful, but beware. It will also emphasize texture, such as bumps and wrinkles.
The majority of my clients are women, and most women I know, myself included, are not keen on emphasizing things like wrinkles on their face.
If I were going to use this lighting pattern, I would use it on a man. I think men look great with a little texture on their face. And split light will really emphasize wrinkles and facial hair, making for a very dramatic portrait.

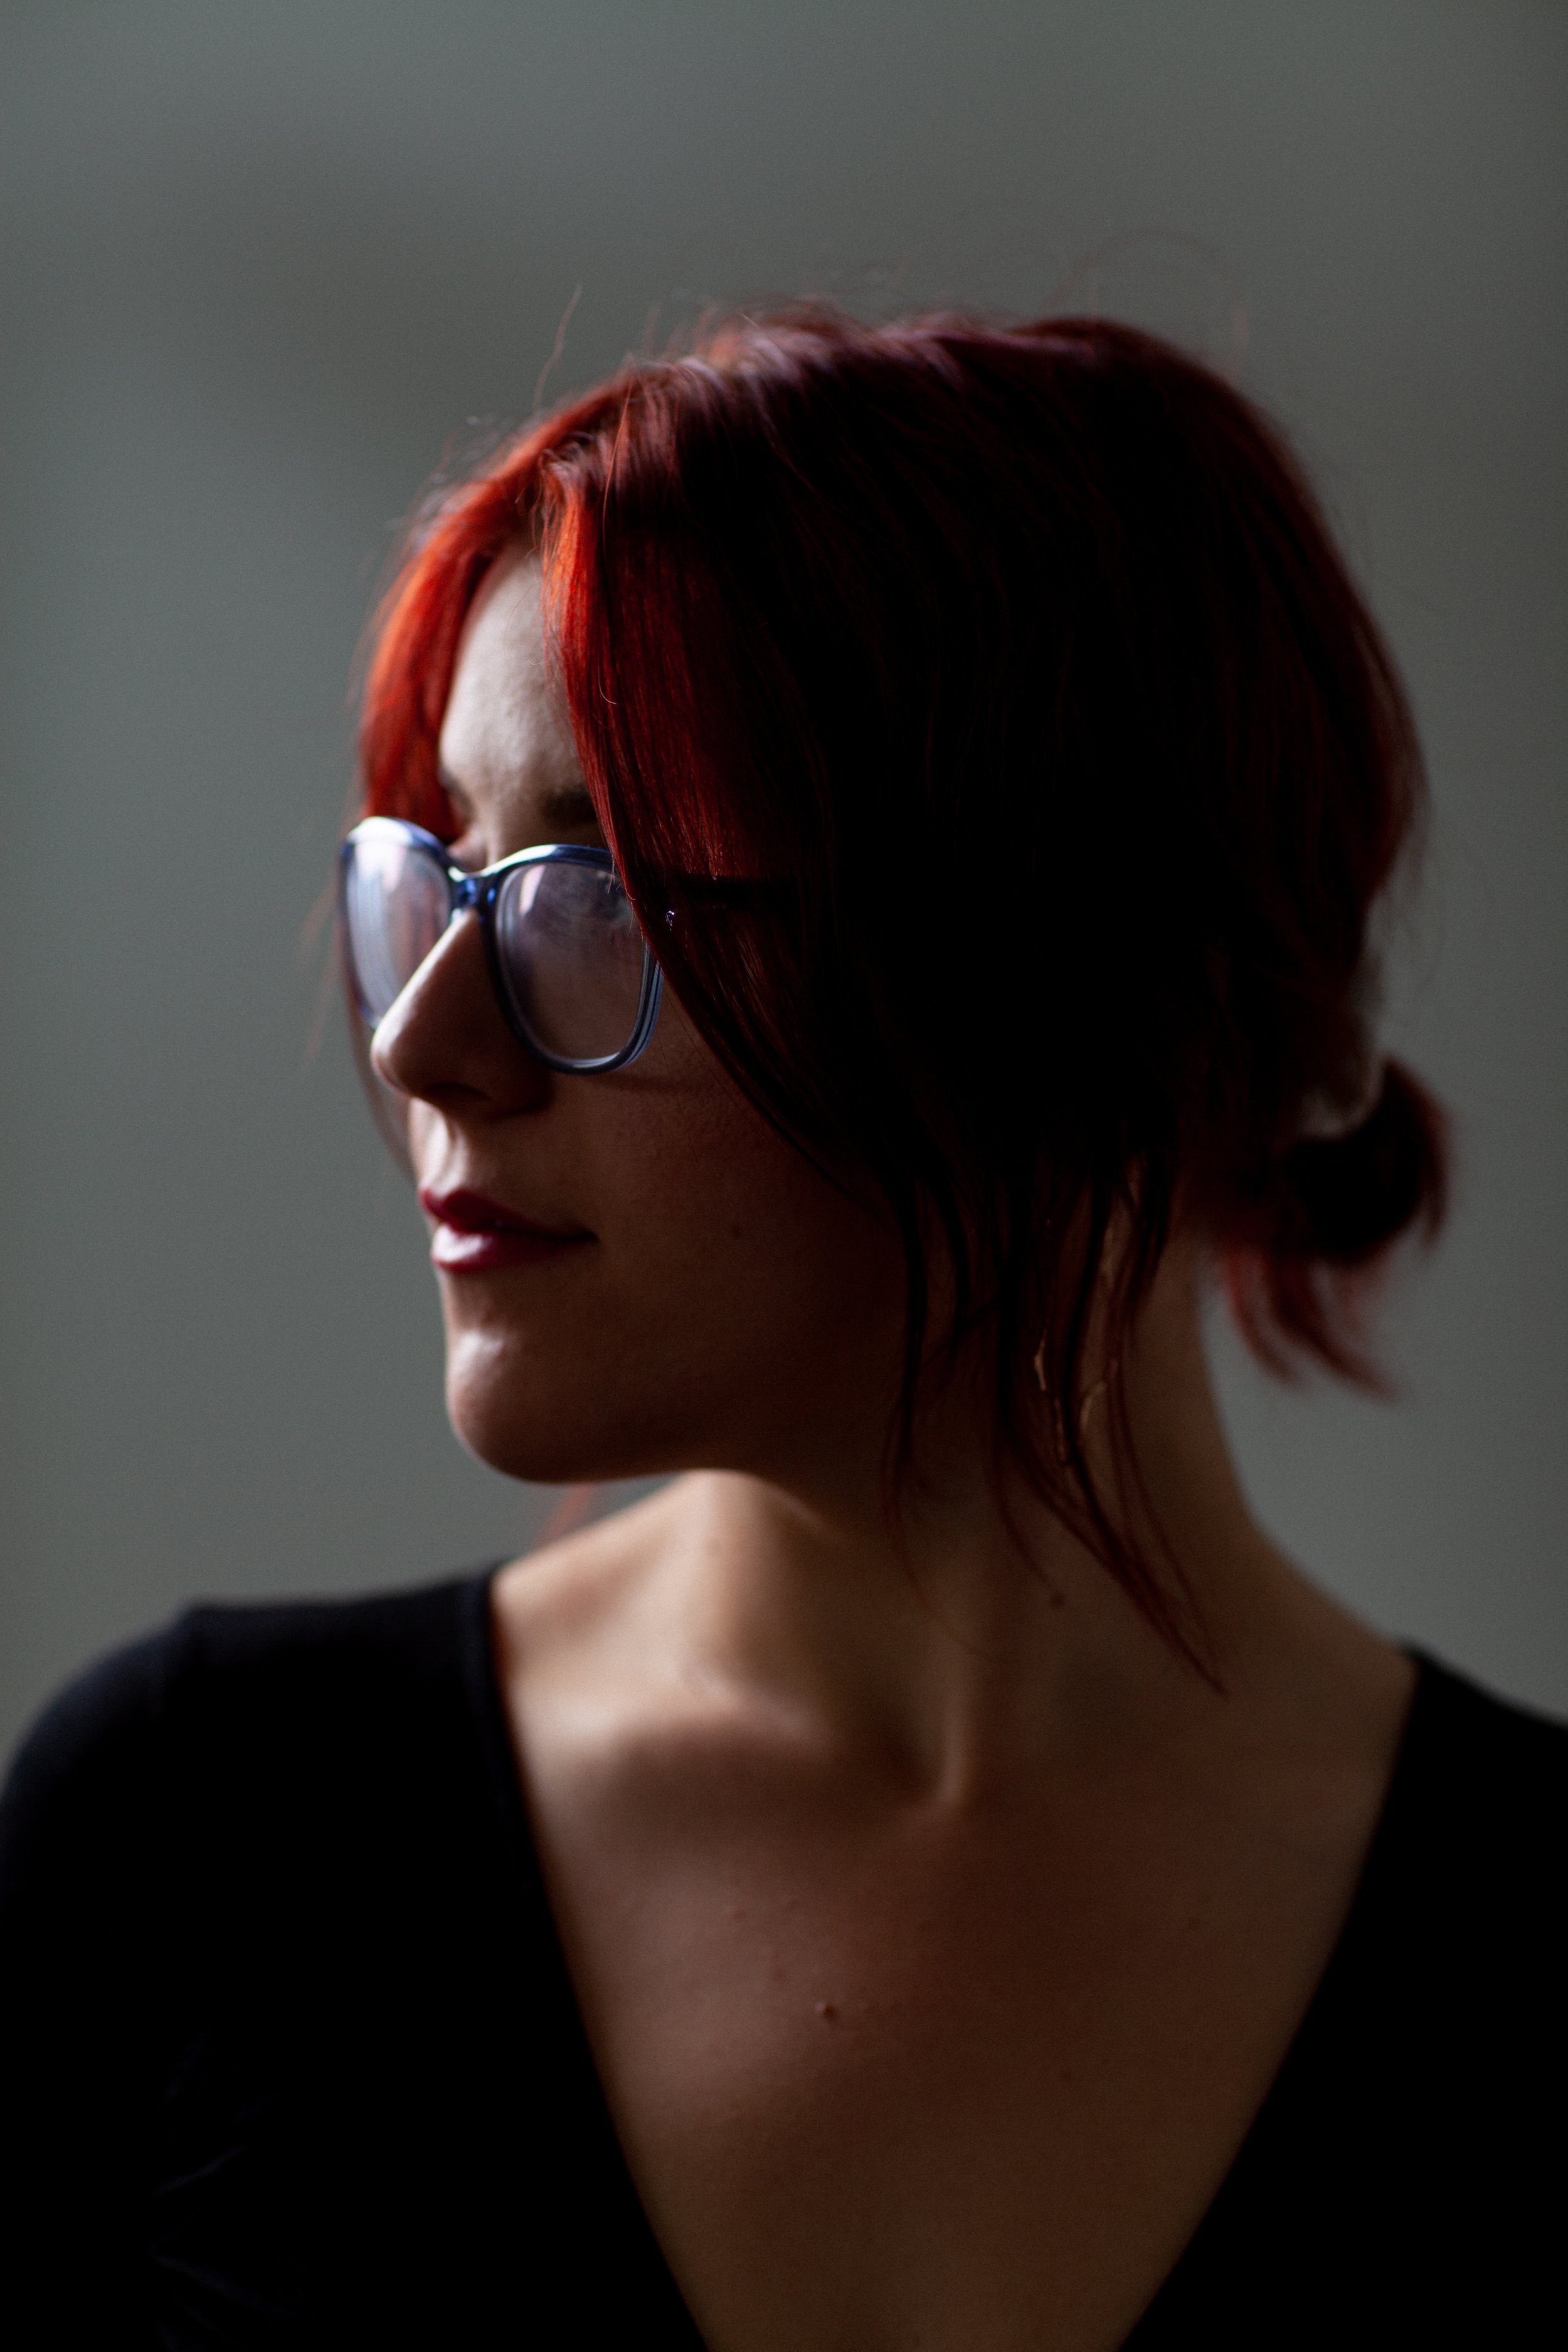
Rim Light
Rim Light
Rim light is a lighting pattern that produces a small rim of light along the edge of your subject, leaving the majority of your subject in shadow.
This light is ideal for maternity portraits, emphasizing the roundness of the baby bump.
It’s very dramatic. And quite beautiful!
Pro Tip: Using a small light modifier will give you a more dramatic look with this lighting pattern.

Backlight
Backlight refers to light that is hitting a subject from behind, giving them a subtle glow. This kind of light very versatile and will give a different affected based on how you chose to meter it.
If you meter for your highlights when backlighting and your subject will appear in silhouette
These Patterns are Universal
You can create them outside with the sun, inside with a window or anywhere with a strobe or flash in a softbox.
My advice is to play around with them.
Start noticing your light and work on intentionally creating different lighting patterns in your work!
The more you practice, the easier it will become!
Common Mistakes Photographers Make with Lighting Patterns
1. Moving the Camera Instead of the Light
Lighting patterns are controlled by light position — not your camera angle.
2. Ignoring Nose Shadows
The nose shadow tells you everything. Watch it carefully.
3. Placing the Light Too Low
This causes upward shadows and unnatural results.
4. Overcomplicating the Setup
More lights do not equal better lighting. Master one light first. Then add from there is you feel the needed!