
How to Use Off-Camera Flash for In-Home Family Photography (Step-by-Step Guide)
Bringing lighting into a client’s home can feel intimidating, especially if you’ve never done it before.
You don’t know:
How big the rooms will be.
What the window light will look like.
Whether there will be color casts.
Or how much space you’ll actually have to work with.
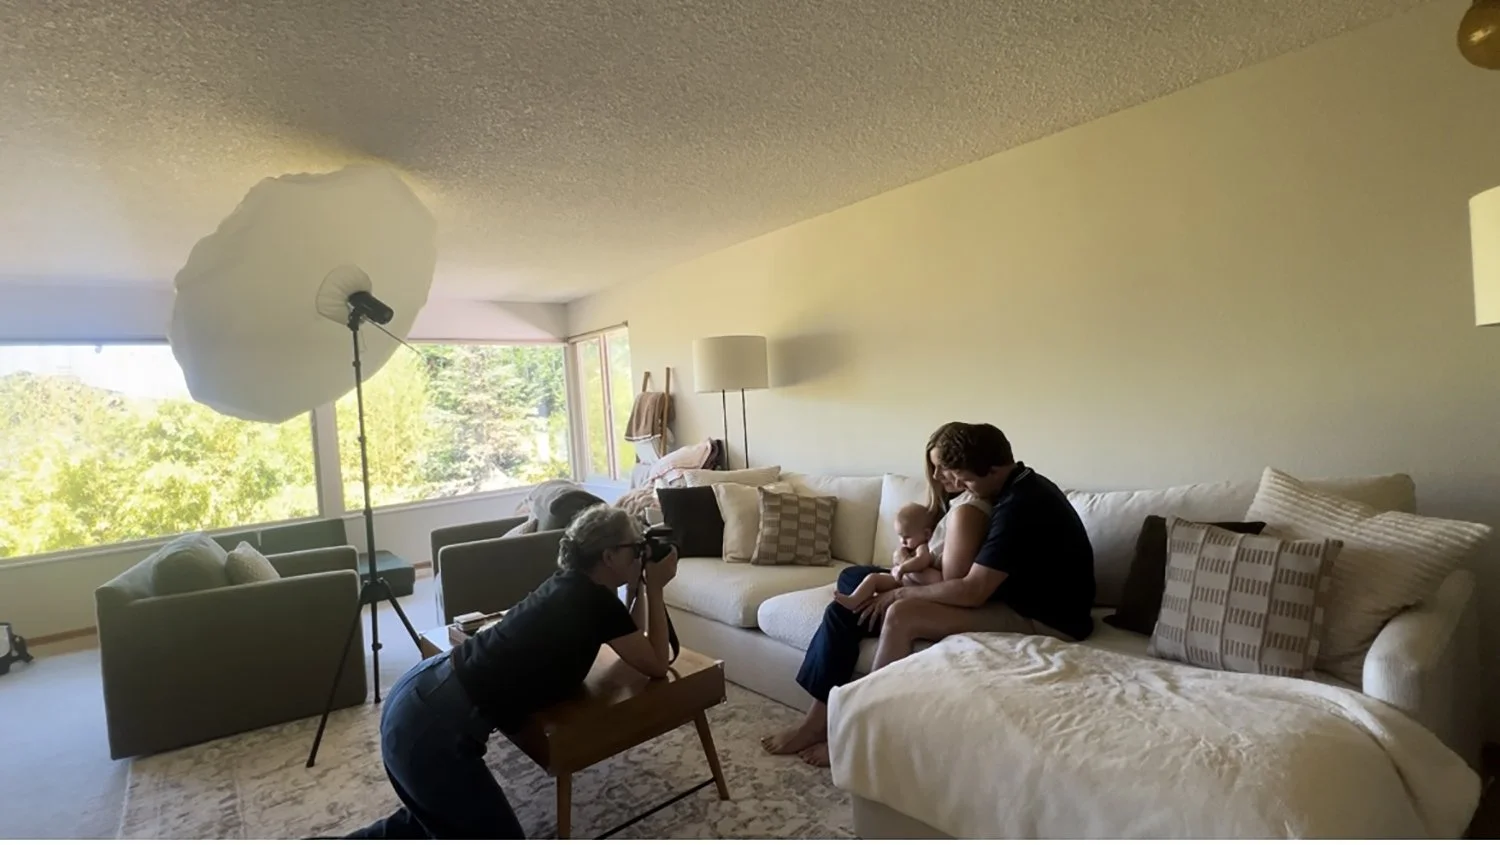
So let me walk you through a real in-home family session from start to finish — including exactly how I lit three different rooms in under 45 minutes.
My goal is simple: to show you that lighting on location does not have to be complicated, stressful, or time-consuming.
What Lighting Equipment Do I Bring to In-Home Sessions?
When photographing on location, I don’t scout ahead of time. I prepare instead.
Here’s what I bring to every in-home family session:
A strobe
A speedlight flash
A trigger
A 45” convertible umbrella with 1-stop diffusion
Lightweight travel stand
Camera + meter
Everything fits into one bag.
The key isn’t bringing everything you own.
It’s bringing a simple, flexible lighting kit that works in small bedrooms, nurseries, and living rooms.
(If you want my exact equipment list and why I use each item, you can download it here.)
Room 1: Lighting a Small Primary Bedroom
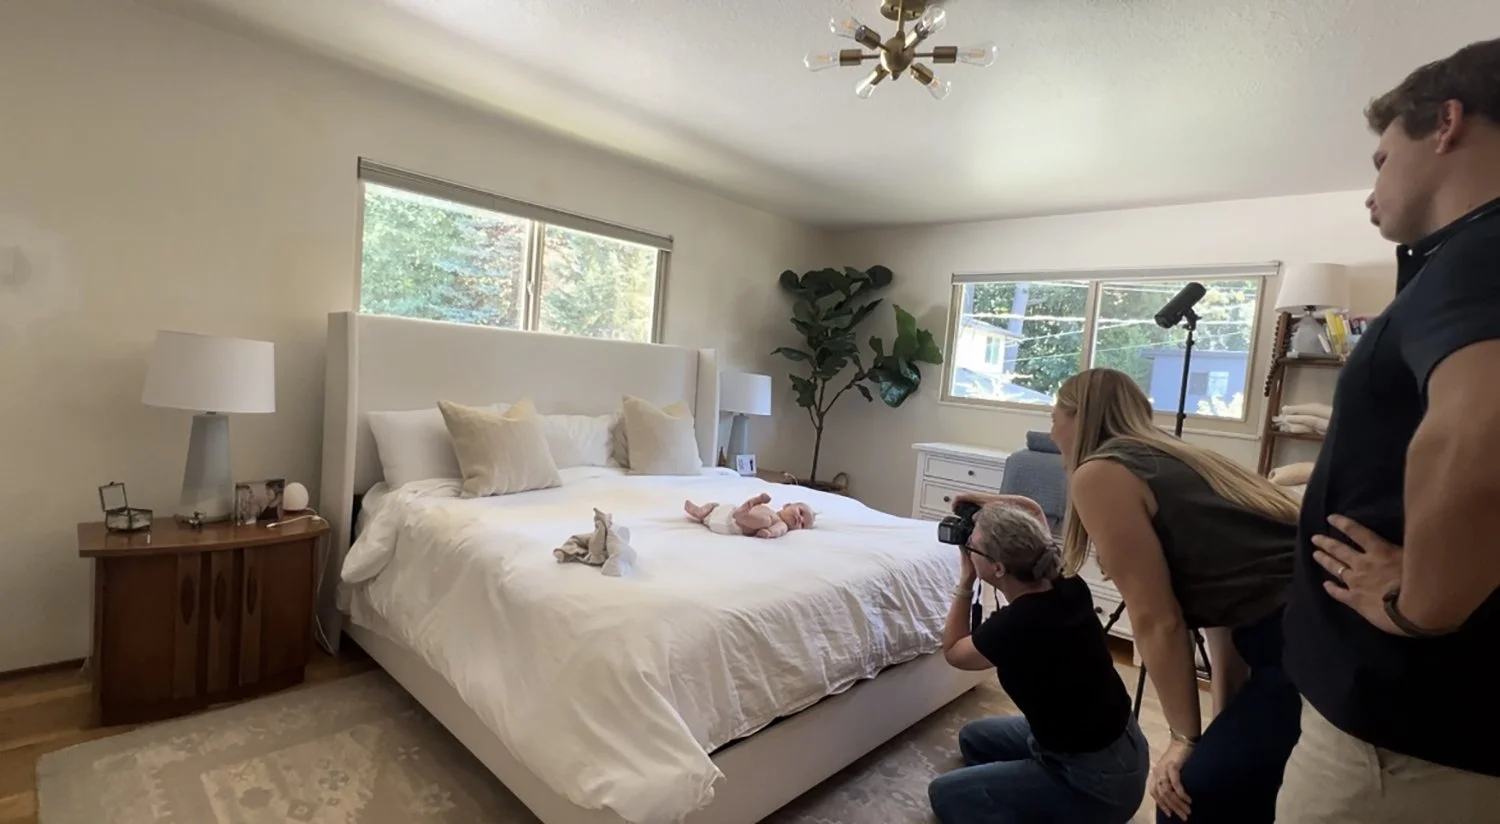
The Challenge:
Low ceiling
Two small windows
Limited space
East and south exposure
The Decision:
Instead of using my umbrella, I chose to bounce my strobe off the ceiling.
Why?
Because small windows create small light sources. Bouncing off the ceiling created a much larger, softer source.
Light Placement:
Strobe on stand
45 degrees to the bed
Positioned on the window side
Bounced off ceiling
Created Loop Light pattern
How I Posed and Lit the Baby

Because the baby was five months old (not sitting independently), I used my three-month posing flow:
Baby on back
Baby on belly
Baby with mom
Baby with both parents
Baby with dad
For solo baby portraits my settings were f/1.8, 1/125 sec, ISO 100
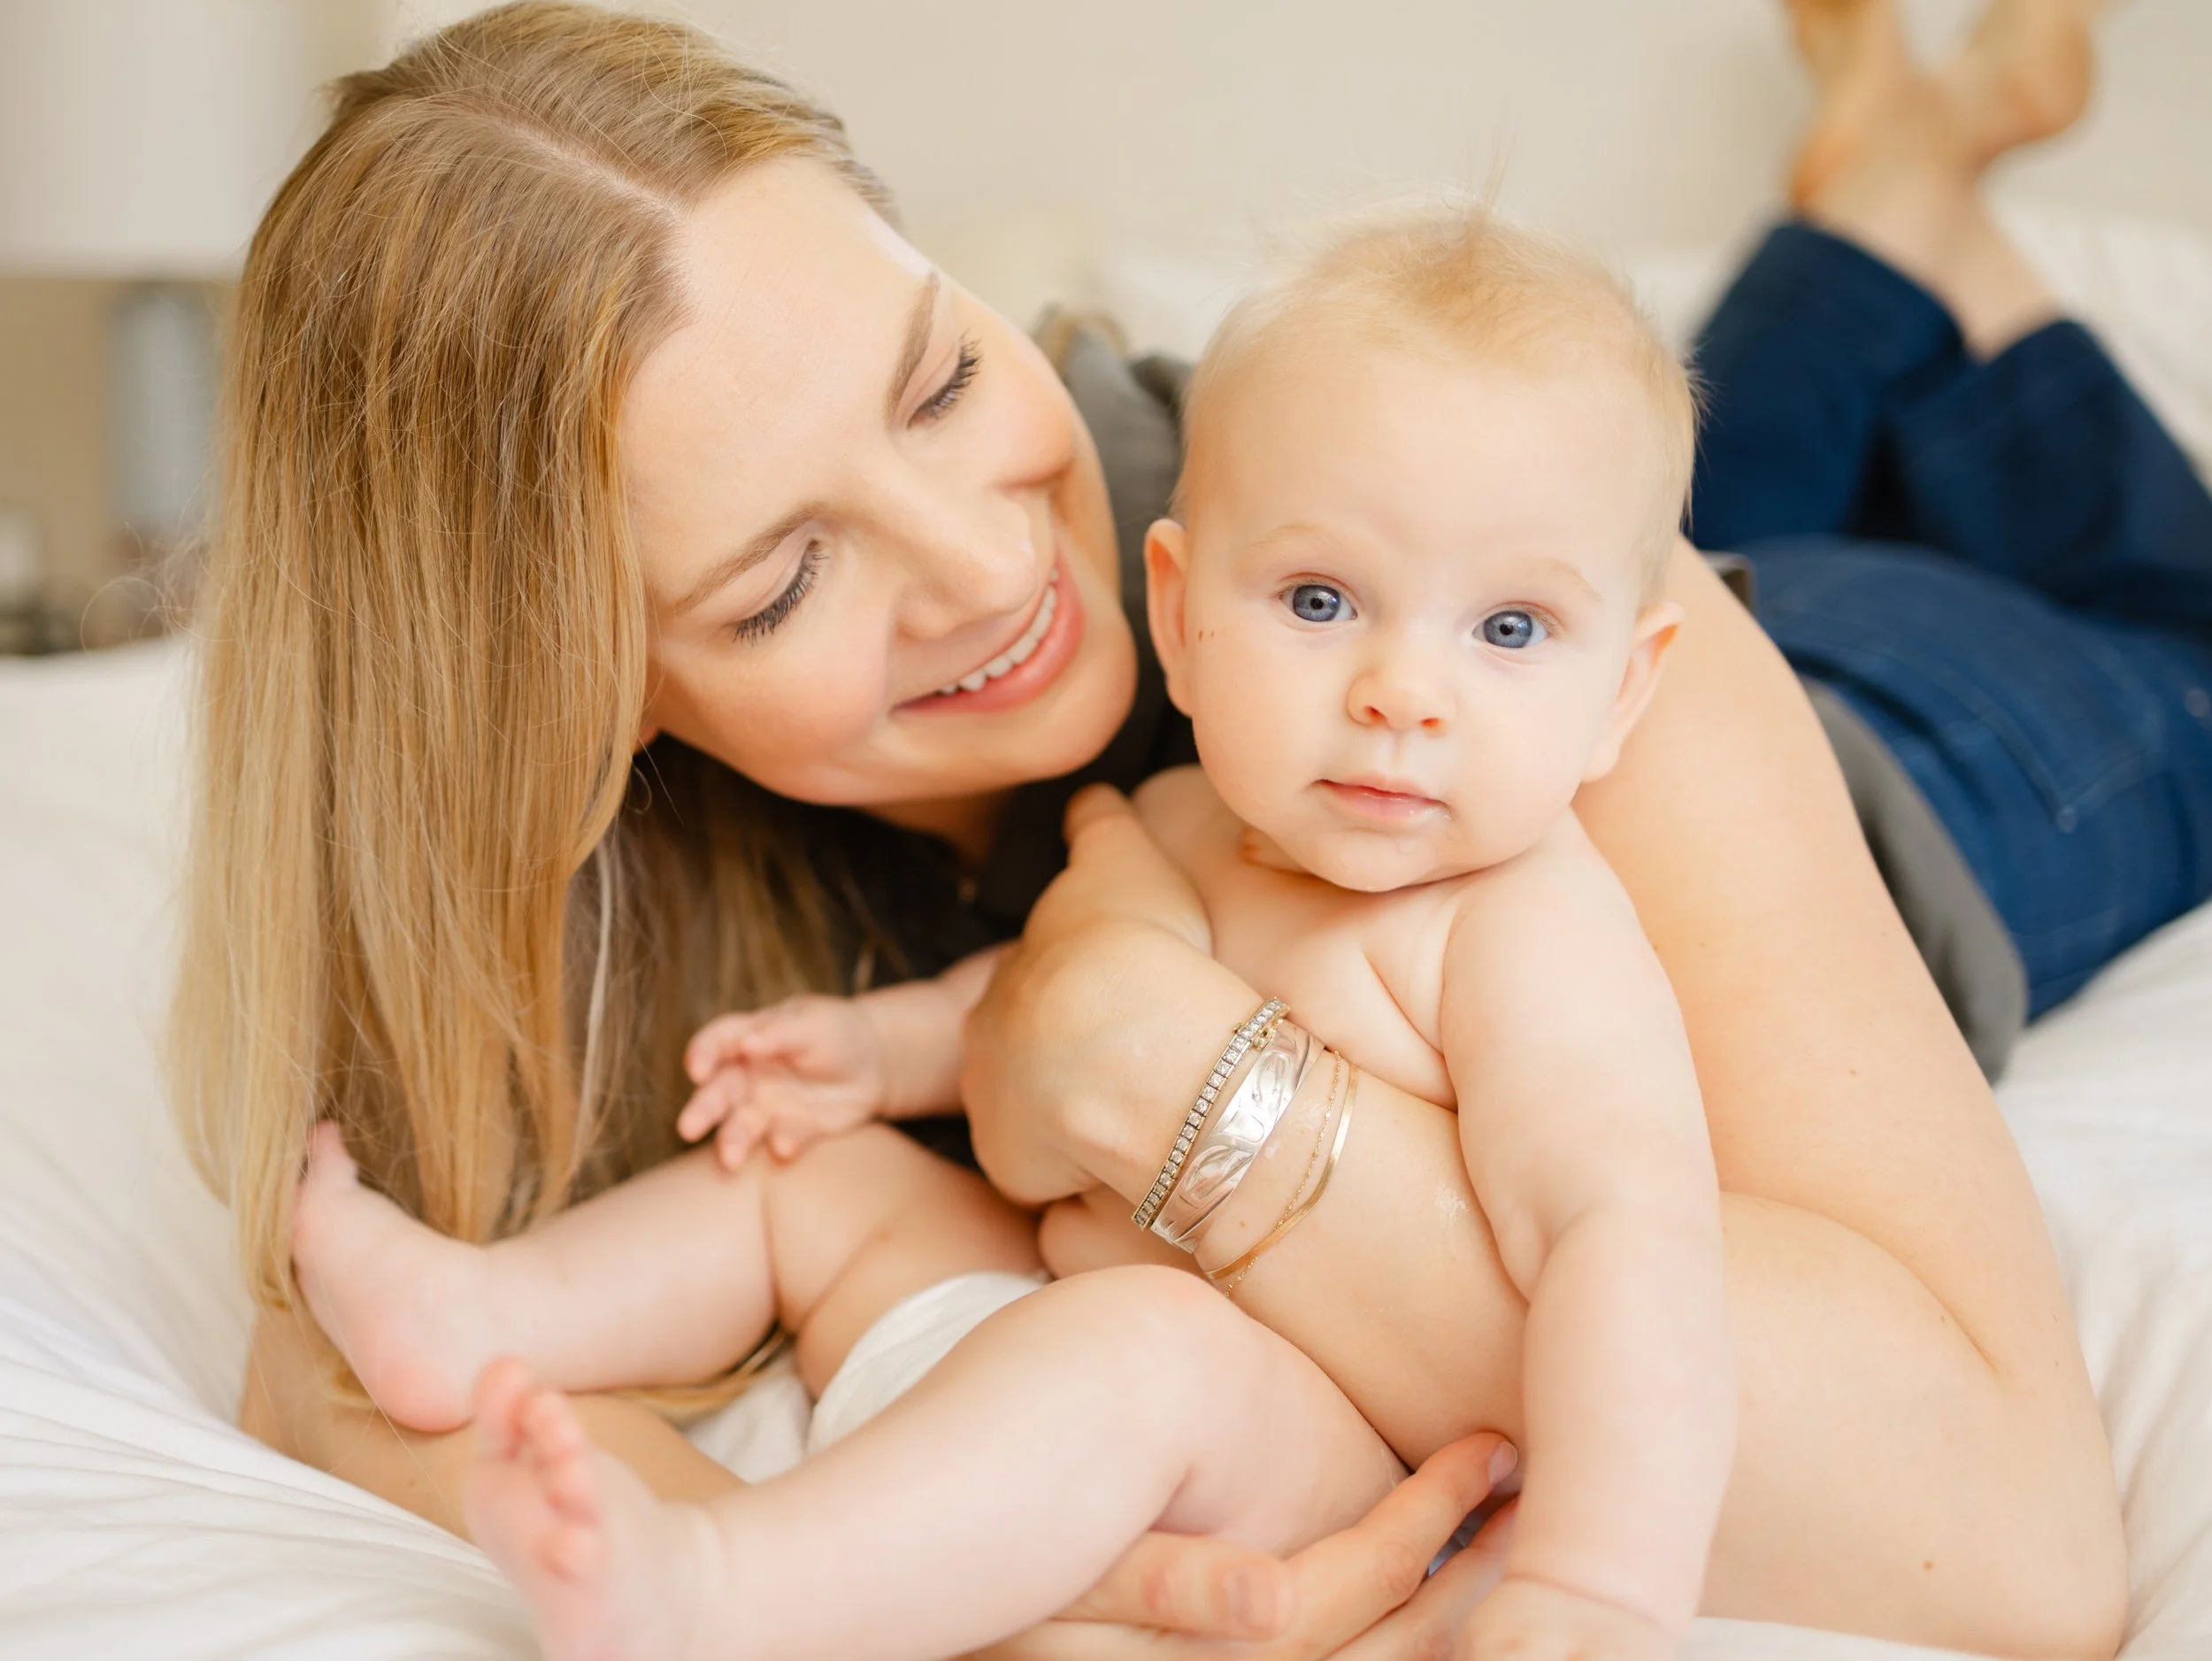
When adding a parent:
Stopped down to f/4
Re-metered
Increased strobe power accordingly
Important: I did not move my light. I simply adjusted aperture and power. Super simple!
We spent about 15 minutes total in this room — including setup and metering.
Adding flash does not slow you down when you have a system.
Room 2: Lighting a Small Nursery with Color Casts
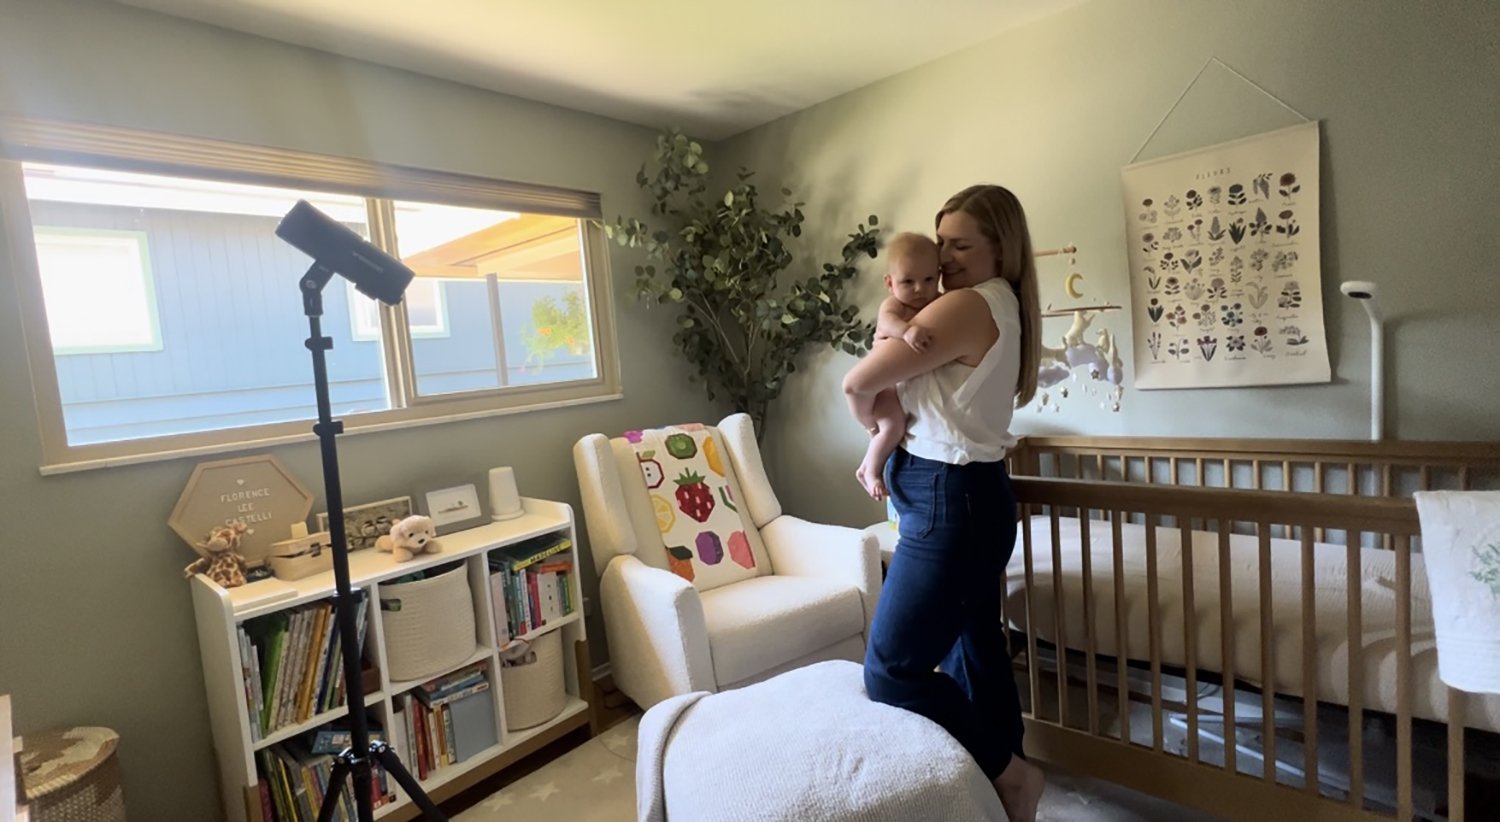
The Challenges:
Very small room
West-facing window (harsh afternoon light)
Green walls
Blue color cast from neighboring house
This is where most photographers panic.
Natural light alone produced:
Strong shadows
Uneven highlights
Color contamination
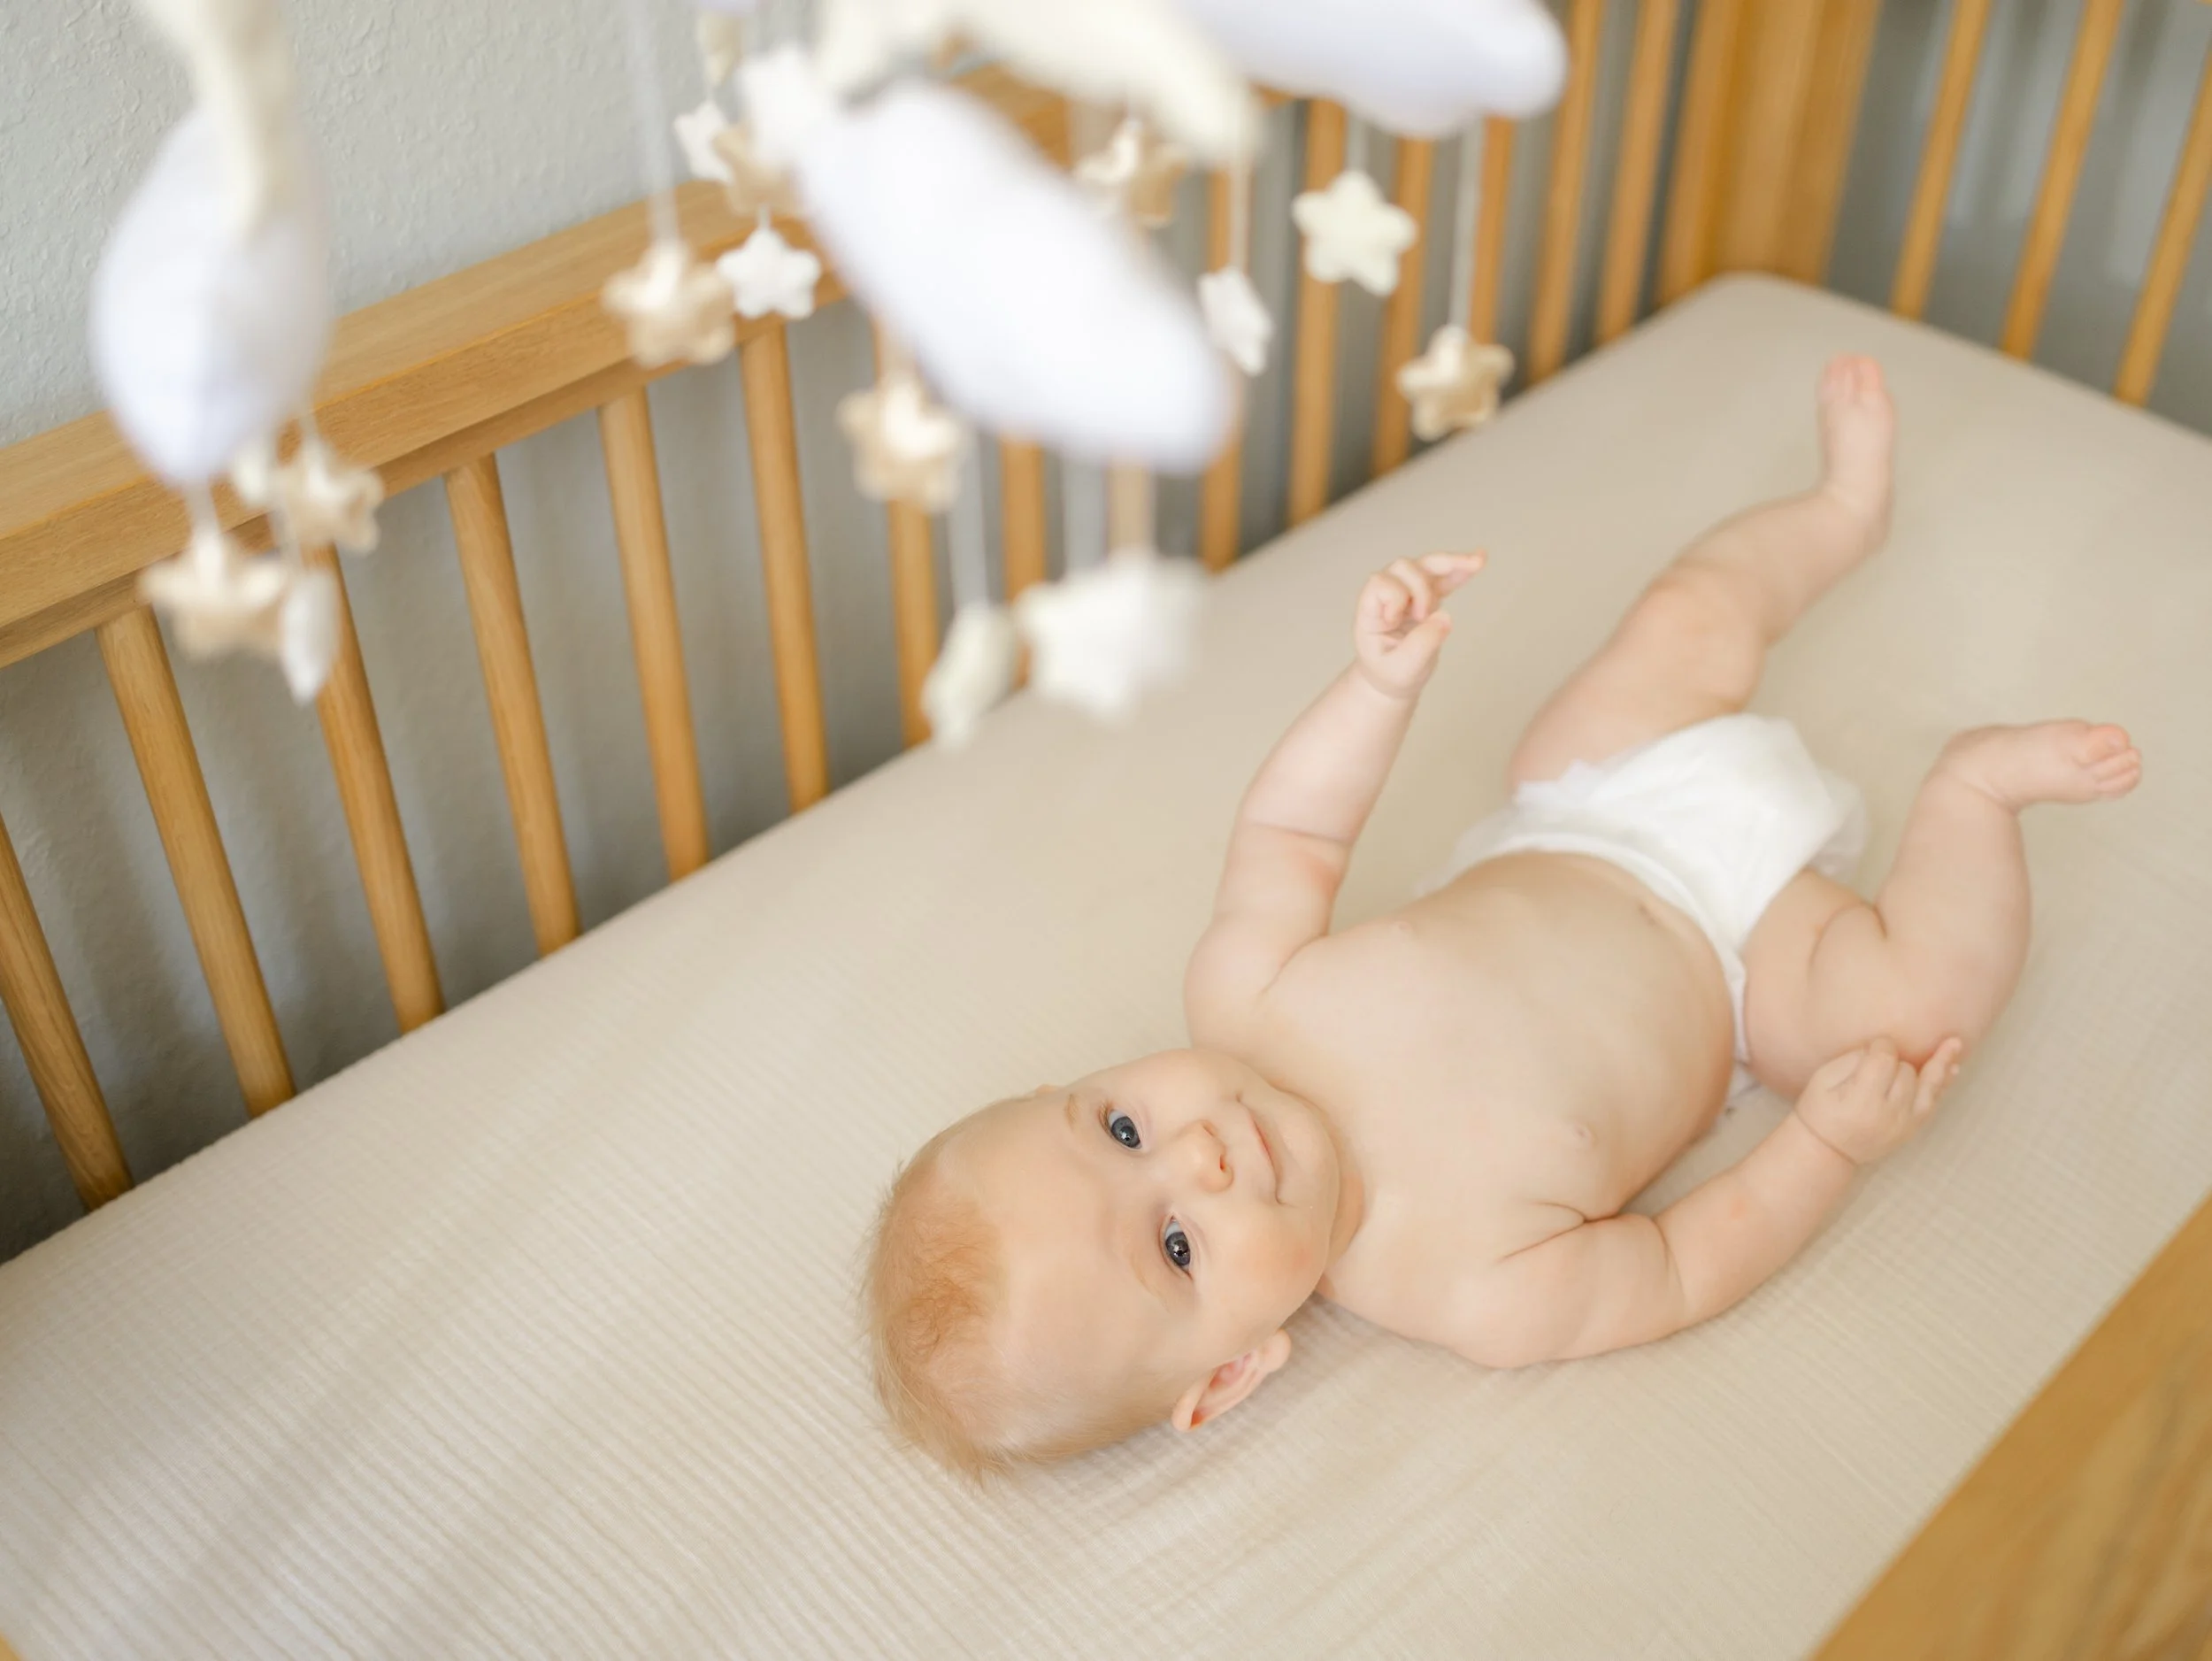
Step 1: Crib Photos
I placed my strobe:
90 degrees to the crib
Bounced off the window (not the green walls)
Why?
To avoid bouncing green tones onto skin and clean, even light.

Step 2: Parent + Baby Portraits
I kept the light in place and:
Stopped down to f/4
Re-metered
Adjusted power
We spent 10–15 minutes total in the nursery.
Room 3: Lighting a Living Room with Green Window Cast
The living room was spacious with large north-facing windows.
Initially, I planned to use only natural light.
But test shots revealed a strong green color cast from trees outside.
Natural light isn’t always neutral.
The Fix:
I used:
45” white umbrella
Diffusion panel
Bounce position
45 degrees to family
Placed as close as possible to subjects
Important principle:
The closer your light is to your subject, the softer it becomes.
Even with a small modifier, proximity creates softness.
Had I placed the light near the windows, it would have:
Been harder
Less flattering
Less controlled
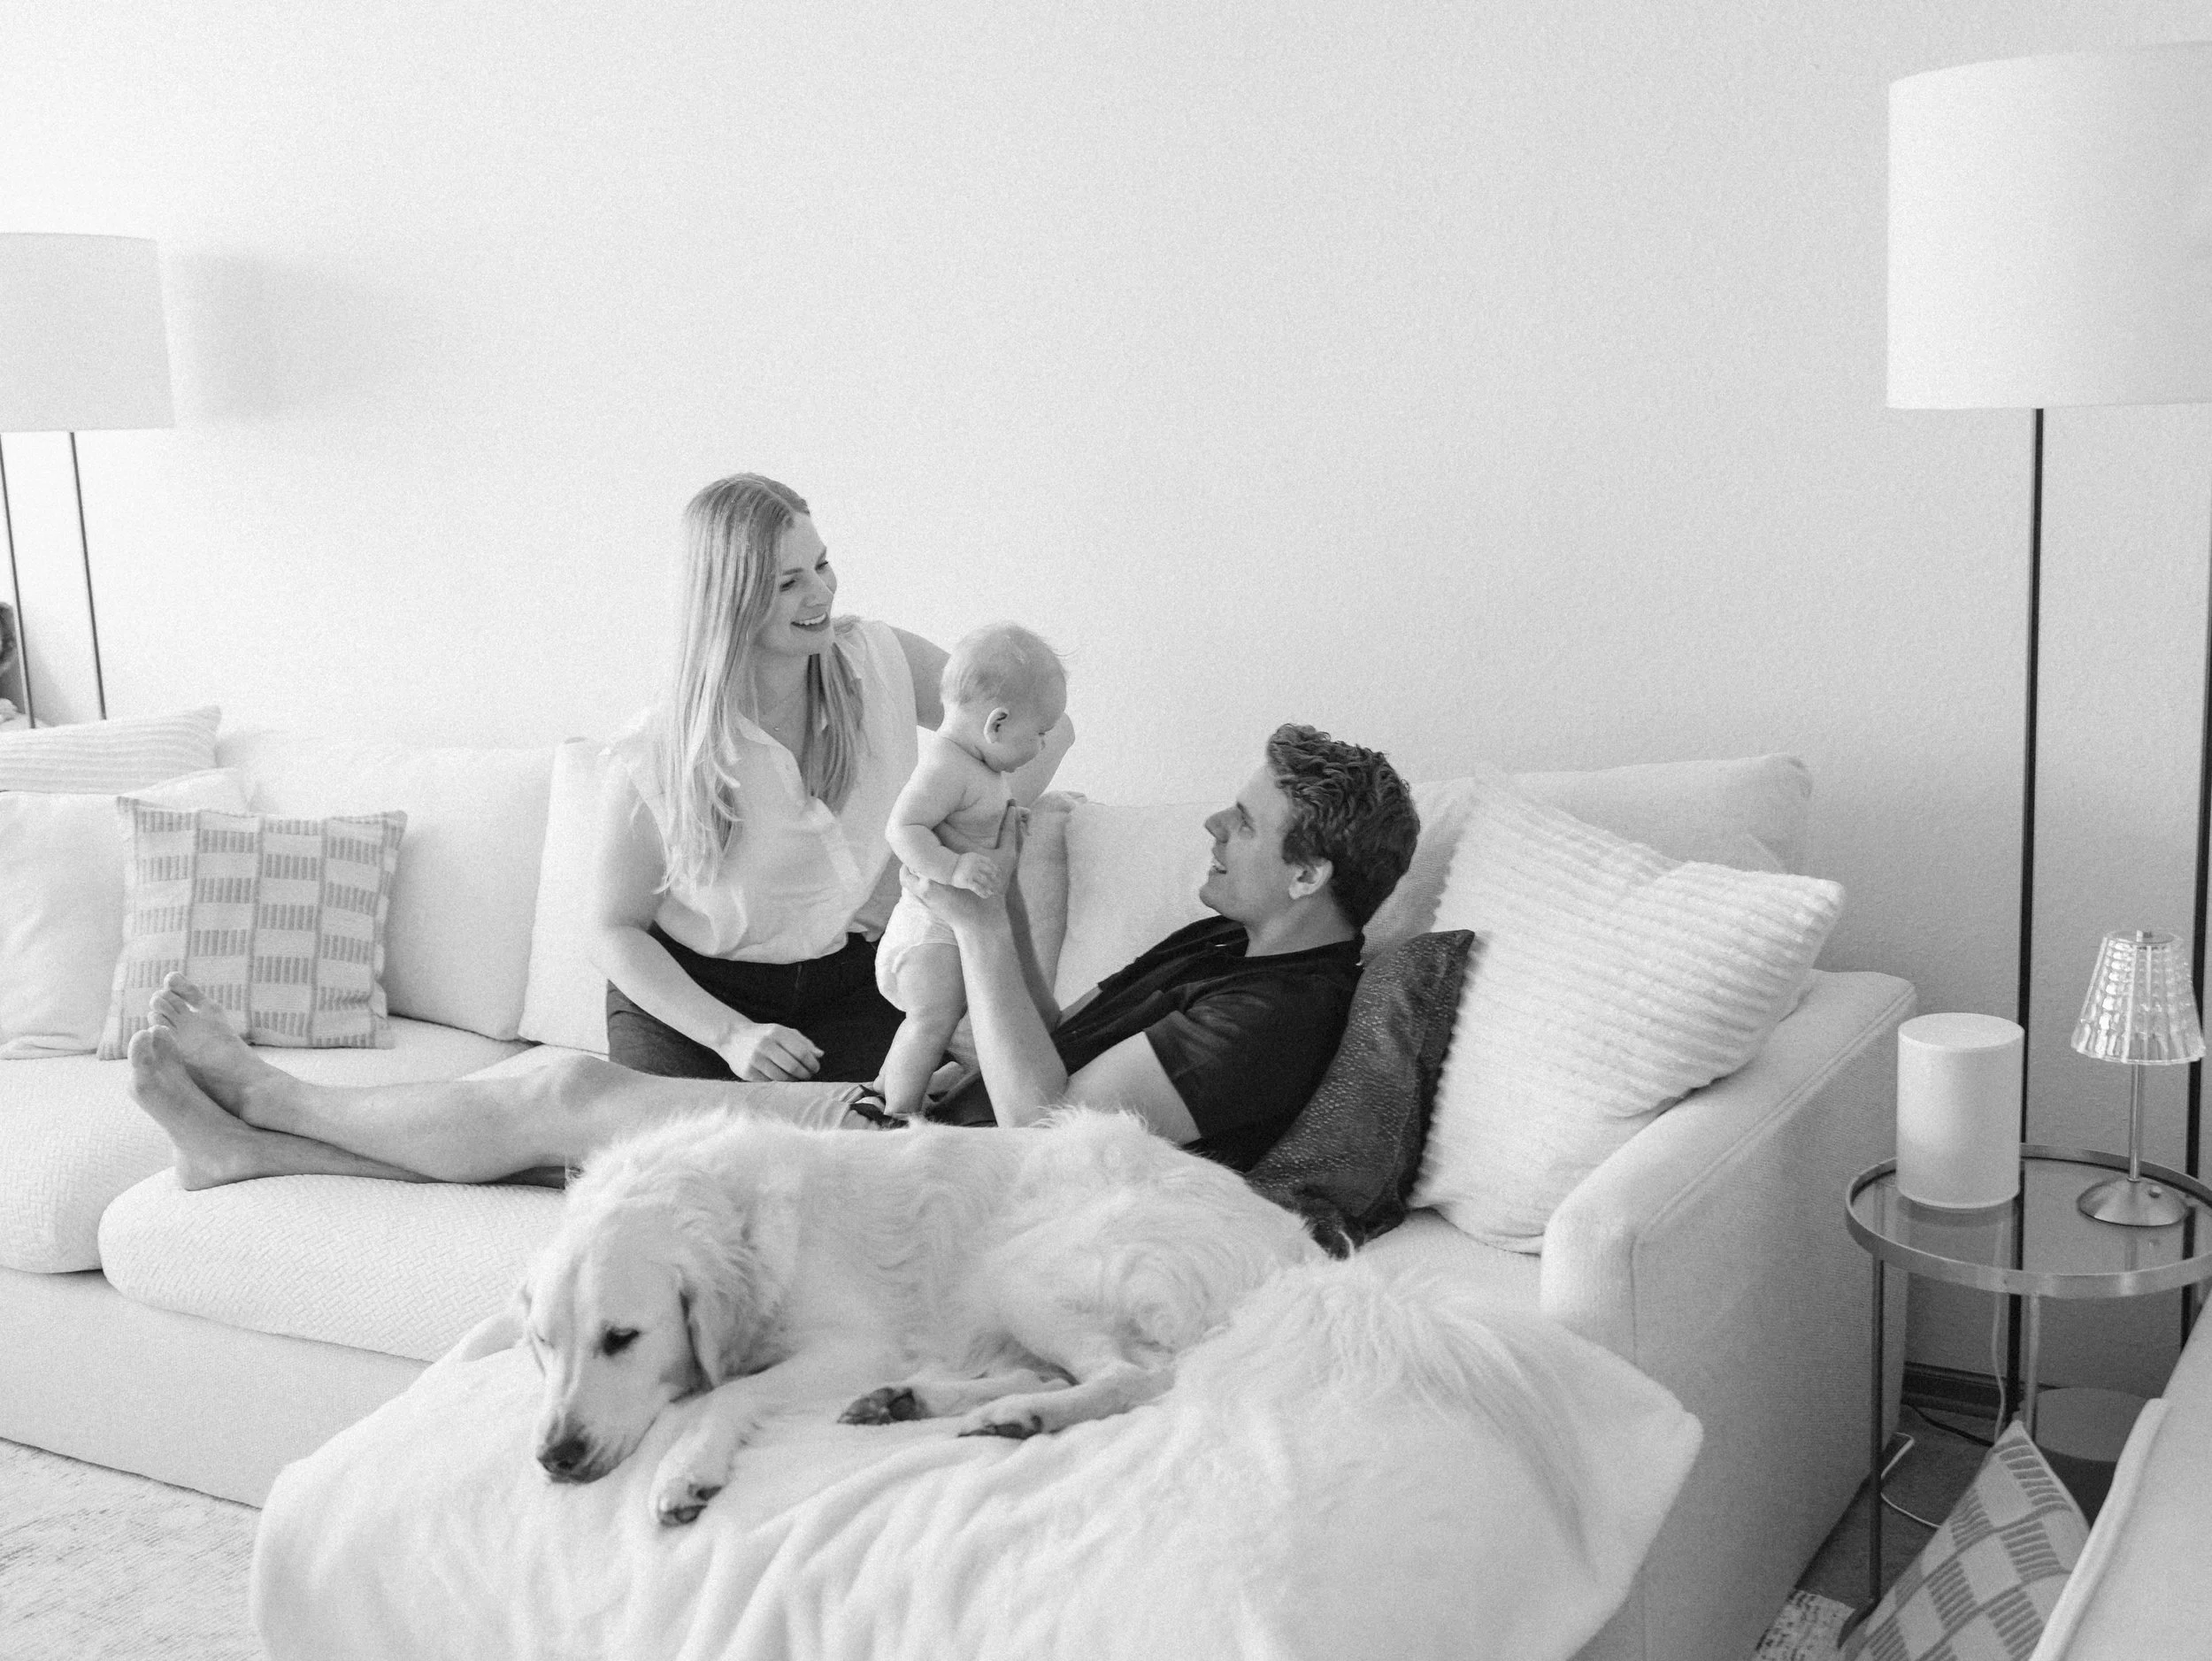
The final images were clean, relaxed, and consistent with the rest of the session.
How Long Did the Entire In-Home Session Take?
Primary bedroom: ~15 minutes
Nursery: ~10–15 minutes
Living room: ~10 minutes
Total working time: under 45 minutes.
Lighting did not slow the session down.
It stabilized it. And made editing a breeze!
Key Takeaways for Lighting In-Home Family Sessions
If you're wondering how to use off-camera flash in client homes, here’s what matters most:
1. Keep Your Kit Simple
One strobe. One modifier. One trigger.
You do not need a ton of expensive equipment to get beautiful results.
2. Bounce When Space Is Tight
Ceilings and windows often create larger, softer sources than umbrellas in small rooms. So if you can’t fit a modifier like an ubrella, bounce!
3. Re-Meter When You Change Aperture
You don’t always need to move your light — just adjust power.
4. Correct Color Casts with Controlled Light
Artificial light helps neutralize color casts. So if you notice that the color is off, bring in a flash!
Do You Need Flash for In-Home Photography?
No.
But if you want:
Consistency
Control
Clean skin tones
Predictable results
Shorter sessions
Less stress
Then learning to use off-camera flash will change your business.
Natural light is beautiful.
Controlled light is reliable.
The Bigger Lesson
Lighting on location doesn’t have to feel overwhelming.
When you walk into a home with:
A repeatable system
A simple lighting kit
A predictable posing flow
You stop reacting to rooms.
You start leading them.
That’s the difference between surviving sessions and running them with confidence.
If you want to learn the exact step-by-step framework I use for lighting client homes, including behind the scenes videos, positioning strategies, and troubleshooting for small spaces — that’s exactly what I teach inside Lighting on Location: Off-Camera Flash for In-Home Photographers.
And if you’re ready to go beyond lighting and fully implement a complete, predictable photography system, that’s the work we do inside my coaching program.
Because knowing lighting is powerful.
But having a system changes everything.