
Metering 101: How Handheld Light Meters Work

All meters are designed to find the perfect balance between absolute black and absolute white, or what is known in the photography world as “ middle gray”.
Middle Gray is a term coined by Ansel Adams in his Zone System.
The Zone System was designed by Adams in 1939 as a way for photographers to look at, meter, and photograph a scene.
Please know that there are entire books written on how to use and understand the Zone System. It’s heavy stuff! For this post, I’m just going to talk about the concept of middle gray and how it relates to metering.
The Zone System is made up of eleven zones that represent the gradation of tones between absolute black (Zone 0) and absolute white (Zone 10). Middle gray (Zone 5) is the perfect mid-point between total black and total white.
The job of your meter is to place the details you are wanting to photograph at Zone 5, perfect exposure. It’s your job as the artist to decide where within your photograph you want that middle gray reading to be.

Metering for highlights
Metering for the Highlights
When you meter for the highlights, for example, you place your highlights, the brightest part of your image at Zone 5, middle gray. As a result, your shadows will fall somewhere between Zones 4 and 0, depending on the contrast of your light.
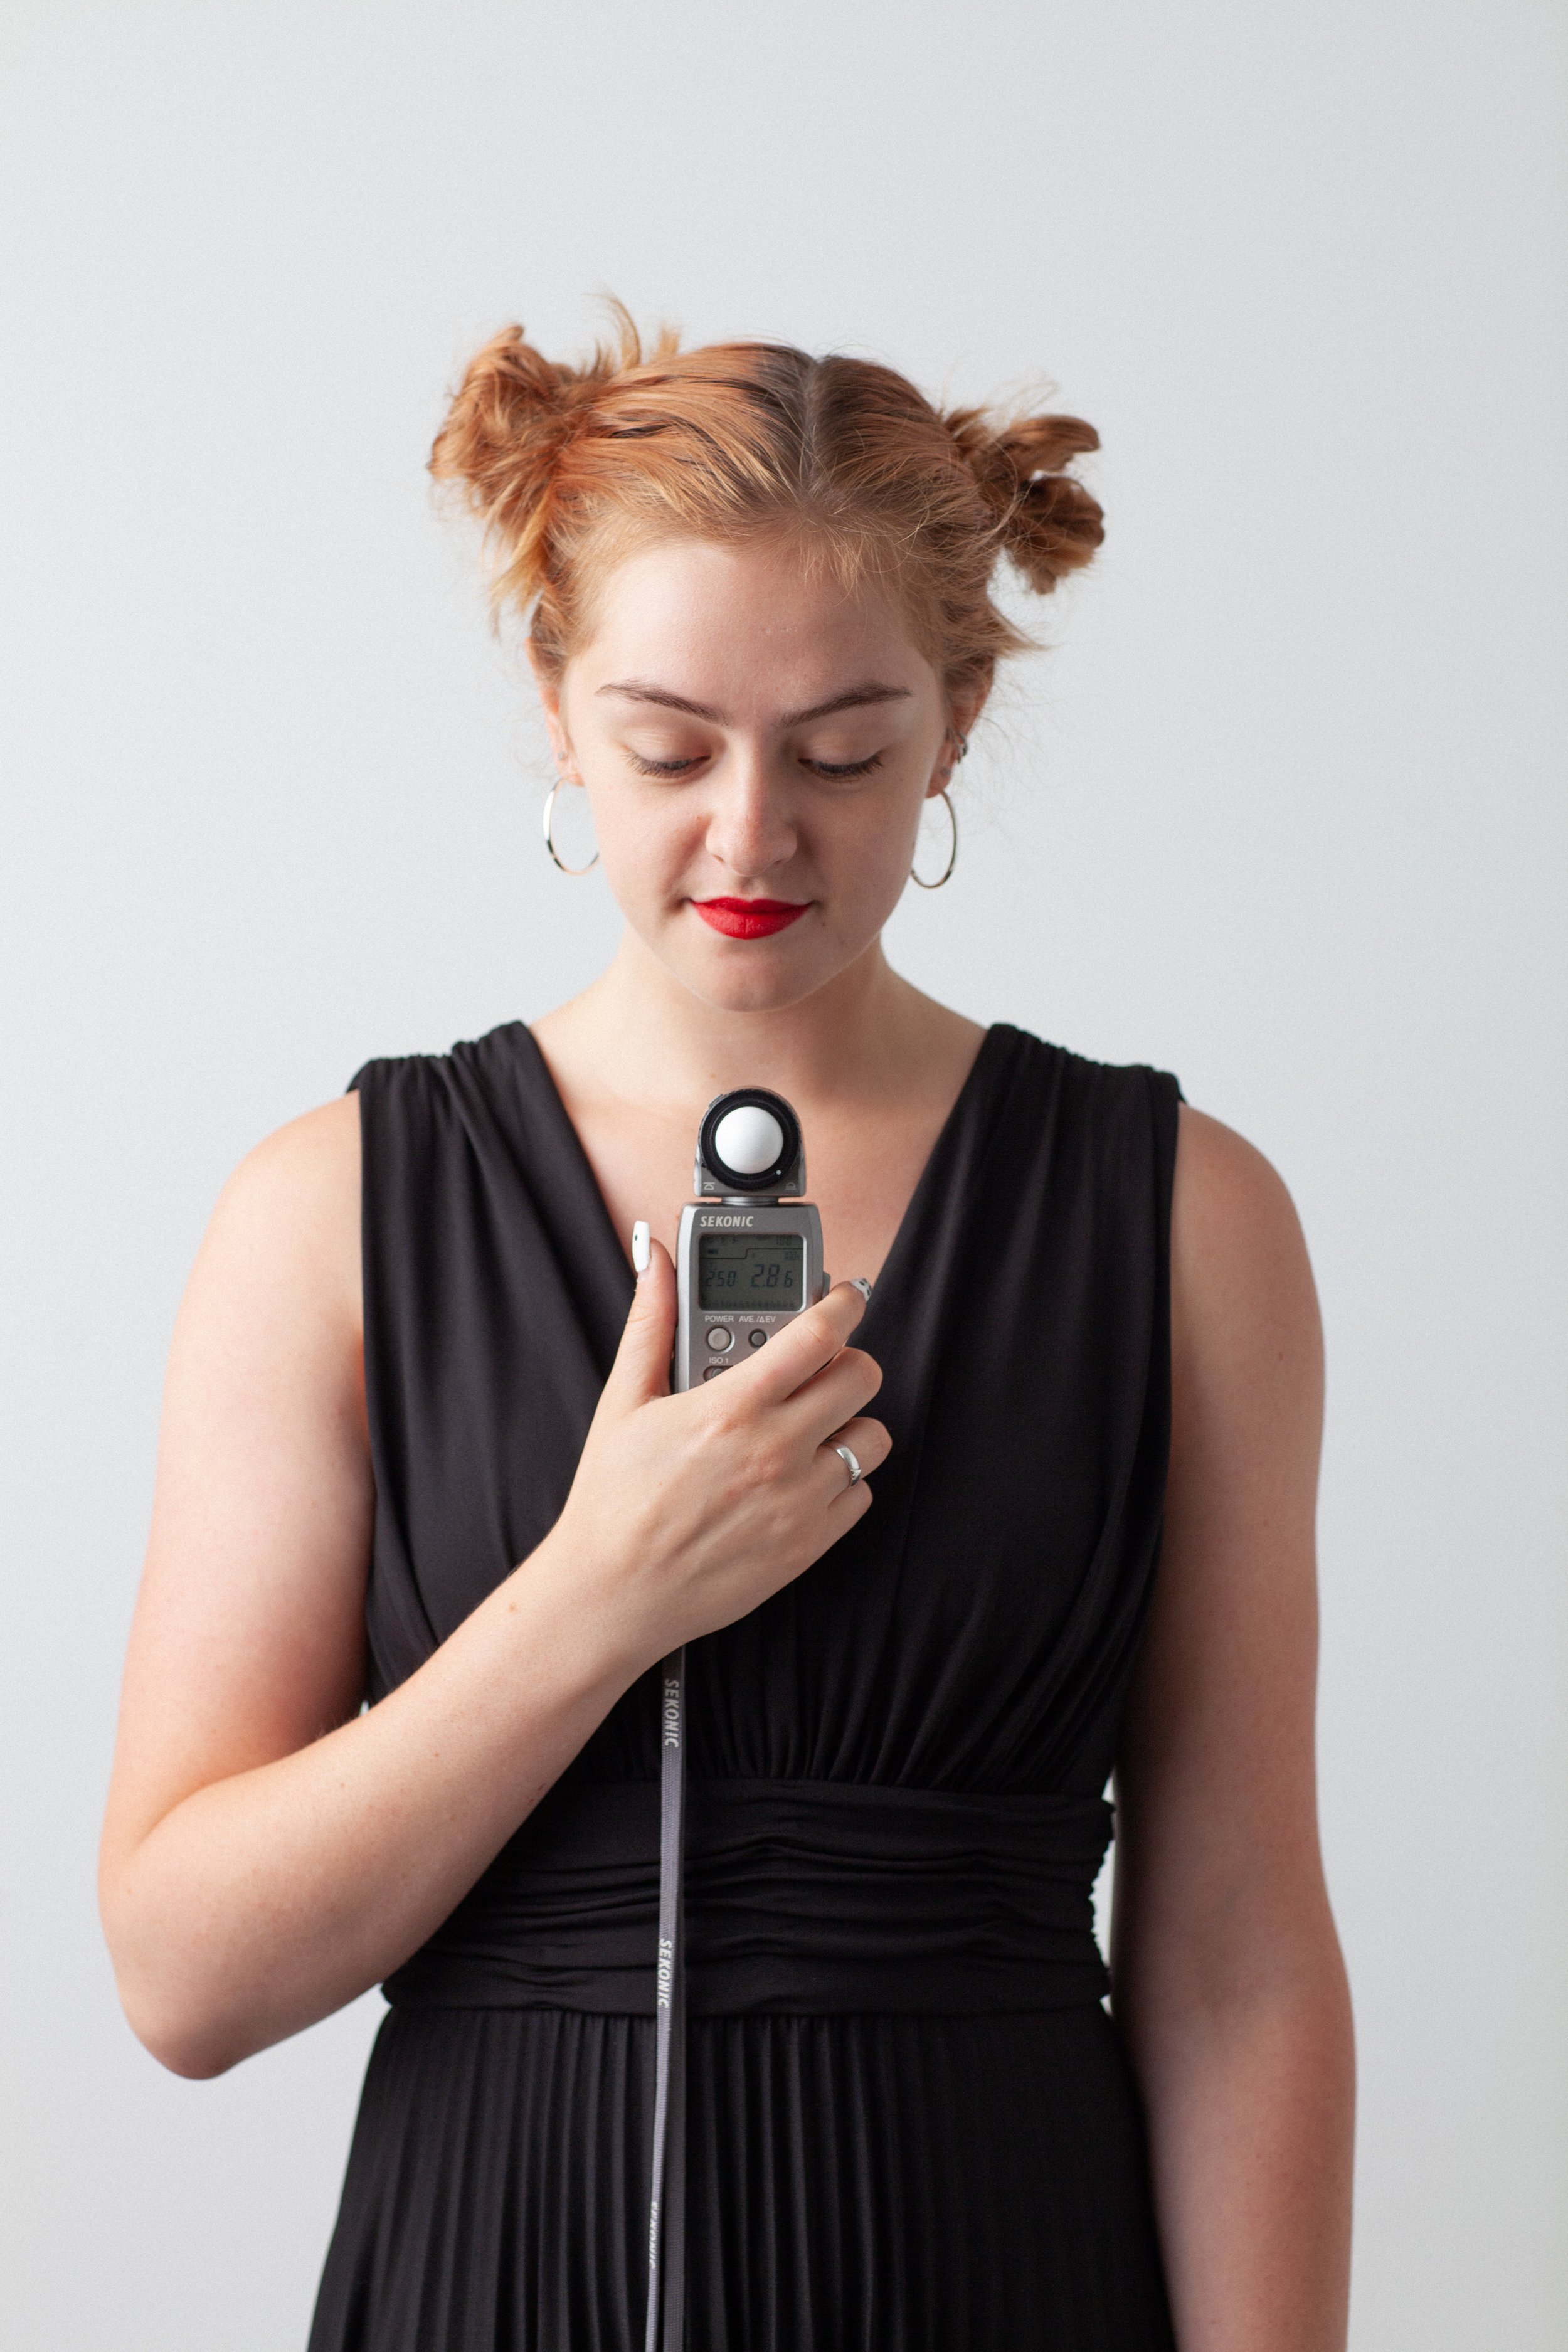
To take a highlight reading, enter your ISO and your camera’s sync speed into the meter. Then place your meter, bulb out, parallel to your subjects face with the bulb facing the light.
Remember, when in flash mode, your meter will pause and wait for you to fire your light before giving you an aperture setting. Use the “test” button on your trigger to fire your light.

Metering for shadows.
Metering for the Shadows
When you meter for the shadows, the darkest part of your image will be placed at Zone 5, middle gray, and your highlights will fall somewhere between Zones 6 and 10, depending on the contrast of your light.
To take a shadow reading, enter your ISO and camera’s sync speed into the meter then place the meter next to your subject’s face, bulb out, with the bulb facing into the shadows.
Metering for midtones.
Metering for the Midtones
You can also choose to meter your midtones, the middle ground between your highlights and shadows. When you meter for the midtone you place the middle tones of your image at Zone 5. This results in less contrast between your highlights and shadows.
To take a midtone reading, enter your ISO and camera’s sync speed into the meter. Then place your meter, bulb out, under your subject's chin, with the bulb facing forward.
Why Metering Matters
Choosing where to metering within your portrait can help determine the look of image you are creating. However, understanding the strengths and weaknesses of the medium you are working with must also be taken into consideration when deciding how to meter.
Digital sensors for example, are very sensitive to light. Overexpose your image and you run the risk of blowing your highlights.
Color film on the other hand, does not do well when underexposed. It needs a little overexposure to look good. And Black and white film, handles slightly differently than color film, which means you can be a little more flexible with how you meter.
Knowing these differences will help guide you in the choices you make when crafting your light and help you produce better work.
To learn more about my approach to creating natural looking light with strobes and flash
follow this link